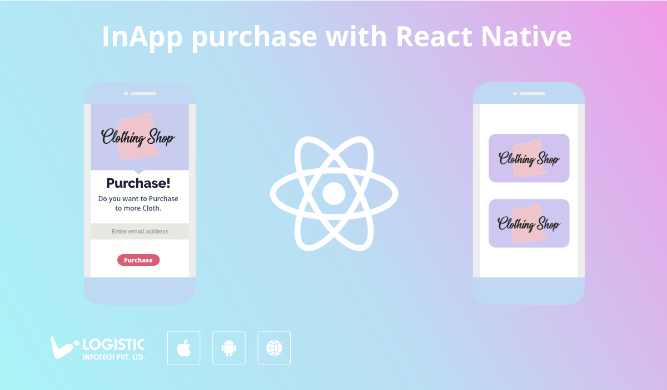
In the current digital world, In-App purchase becomes an essential part to sell your product digitally. You may sell your product single time or offer subscription depending on your products. For mobile application, In-App purchase becomes a vital part if you are selling digital content or functionalities.
Generally iOS and Google both offer In-App purchase, you can easily implement with your native code. But if you are using a hybrid framework for your mobile app development then its become hard for you to maintain both platforms in a single code.
In this article, I have used react-native-iap library with my React Native app, which provides great support for both iOS and Android In-App purchase for single product and subscription both.
Before starting implementation I assume that you are already aware of In-App set up on your App Store and Play Store. Let’s create a few one-time purchase item and few auto-renewable subscription items.
Installation Guide
Let’s create new React Native app, once you have created it successfully, add below package in your project using this command.
npm i react-native-iap --save
Set up for Android
You may need to add permission inside the Android Manifest file.
<uses-permission android:name="com.android.vending.BILLING" />
Import
Let’s import library in your React Native code using below code.
import * as RNIap from "react-native-iap"
Usage
Open your App.js file and insert your purchase items and subscription items for iOS and Android as written in below code.
// Purchase items
const itemSkus = Platform.select({
  ios: [
    "INSERT YOUR PURCHASE ID IOS"
  ],
  android: [
    "INSERT YOUR PURCHASE ID ANDROID"
  ]
});
// Subscription items
const itemSubs = Platform.select({
  ios: [
    "INSERT YOUR SUBSCRIPTION ID IOS"
  ],
  android: [
    "INSERT YOUR SUBSCRIPTION ID ANDROID"
  ]
});
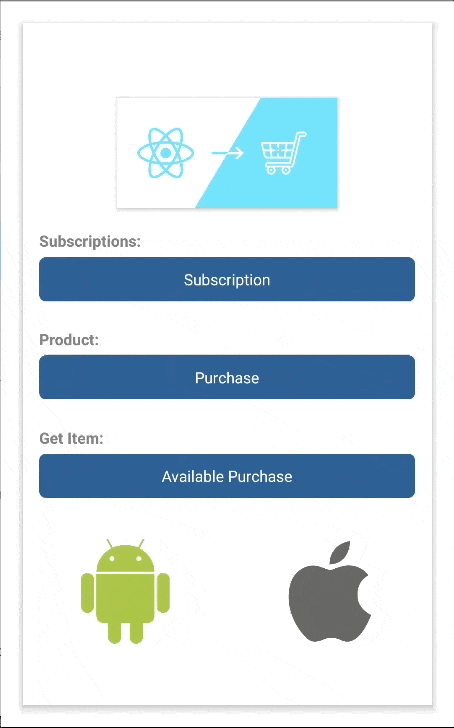
Fetch In-App Products for iOS & Android
By calling getProducts() you will get the list of valid products created on App Store and Play Store. You will get JSON response of all your products.
try {
    const products = await RNIap.getProducts(itemSkus);
    this.setState({ products });
  } catch(err) {
    console.warn(err); // standardized err.code and err.message available
  }
In-App purchase
You can call buyProduct() once you have a valid product list. buyProduct() is commonly used for consumable as well as for subscription items. You can cancel the subscription from your iOS or Android setting.
try
    // Will return a purchase object with a receipt which can be used to validate on your server.
    const purchase = await RNIap.buyProduct('YOUR PRODUCT ID');
    this.setState({
      receipt: purchase.transactionReceipt, // save the receipt if you need it, whether locally, or to your server.
    });
  } catch(err) {
    // standardized err.code and err.message available
    console.warn(err.code, err.message);
  }
Note: For iOS, you have two options to validate receipt either on mobile or on the server side. But for Android, you need to validate only on the server.
Restoring In-App Purchases
If you have already done purchase before and want to restore your previous purchases within your app then you need to call getAvailablePurchases(). It will list out all your previously purchased products and subscriptions.
getPurchases = async() => {
  try {
    const purchases = await RNIap.getAvailablePurchases();
  } catch(err) {
    console.warn(err); // standardized err.code and err.message available
  }
}
Upon successful subscription purchase, you will get subscription receipt and other detail in response. The receipt will be used later on to validate your purchase while you open your app next time. So if any user canceled the subscription then it will revert users subscription to normal mode.
Receipt validation will be completed using validateReceiptIos() as written in below code snippets.
const receiptBody = {
  'receipt-data': purchase.transactionReceipt,
  'password': '******'
};
const result = await RNIap.validateReceiptIos(receiptBody, false);
console.log(result);
Actually above validation code is for iOS only. So later when you open your app after subscription you will use this receipt and validate it with App Store using your app secret for this app.
Note: You have to do stuff for server-side validation for android
You will find all above code here on GitHub.